If you’ve ever fumbled a belay while your partner dangled 30 feet up a crag, you know that gear isn’t just hardware—it’s your lifeline. With so many belay devices flooding the market, choosing the right one can mean the difference between a smooth descent and a terrifying slip. In this guide, we cut through the noise to deliver actionable advice rooted in real-world climbs, safety standards, and hard-won lessons (including one I still cringe about). Whether you’re traveling light for alpine routes or stocking up for gym sessions, these seven tips will keep you secure, compliant, and confident.
Table of Contents
- Why Belay Devices Matter in Travel Climbing
- Step-by-Step Guide to Choosing Your Belay Device
- Best Practices for Safe and Efficient Belaying
- Real-World Case Studies and Performance Data
- FAQs About Climbing Belay Gear
Key Takeaways
- Not all belay devices perform equally under wet, icy, or dusty travel conditions.
- Tubular devices offer versatility but require more skill; assisted-braking models add security for beginners.
- Your rope diameter must match your device—mismatches cause slippage or jamming.
- Regular inspection for wear, especially after abrasive desert or coastal climbs, is non-negotiable.
- Weight matters less than reliability when you’re miles from rescue.
Why Belay Devices Matter in Travel Climbing
When you’re traveling to remote crags—from Joshua Tree to the Dolomites—your gear faces dust, moisture, temperature swings, and rough handling. A flimsy or mismatched belay device won’t just underperform; it could fail. According to the UIAA (International Climbing and Mountaineering Federation), improper belay technique combined with incompatible gear accounts for nearly 20% of preventable climbing incidents.
Step-by-Step Guide to Choosing Your Belay Device
1. Match Device Type to Your Climbing Style
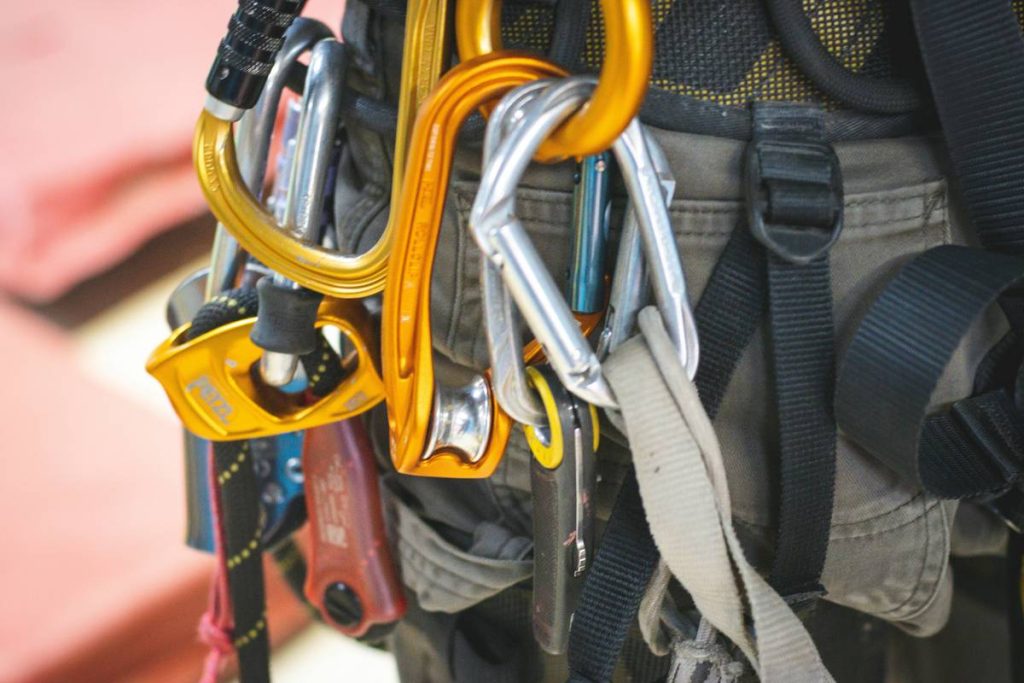
Are you sport climbing, trad, or multi-pitch alpine? Tubular devices like the Black Diamond ATC work across most scenarios but demand active belaying. Assisted-braking devices (e.g., Petzl GriGri) auto-lock during falls—ideal for new belayers or high-stakes routes.
2. Verify Rope Compatibility
Check manufacturer specs. Most modern devices support ropes from 8.5–11mm, but older or lightweight models may not. Using a 9.2mm rope in a device rated only for 10mm+ risks slippage—a mistake I made once in Red Rock that nearly sent my partner into a ledge. Never assume compatibility.
3. Prioritize Durability Over Weight
Yes, grams matter when hiking 10 miles in, but a featherlight aluminum device worn thin after three trips is dangerous. Look for hardened anodization or stainless steel frames, especially if you climb near saltwater or abrasive sandstone.
Best Practices for Safe and Efficient Belaying
- Always do a function test before every climb: load the device with weight and simulate a fall.
- Clean your gear post-trip—grit from desert climbs grinds metal components over time.
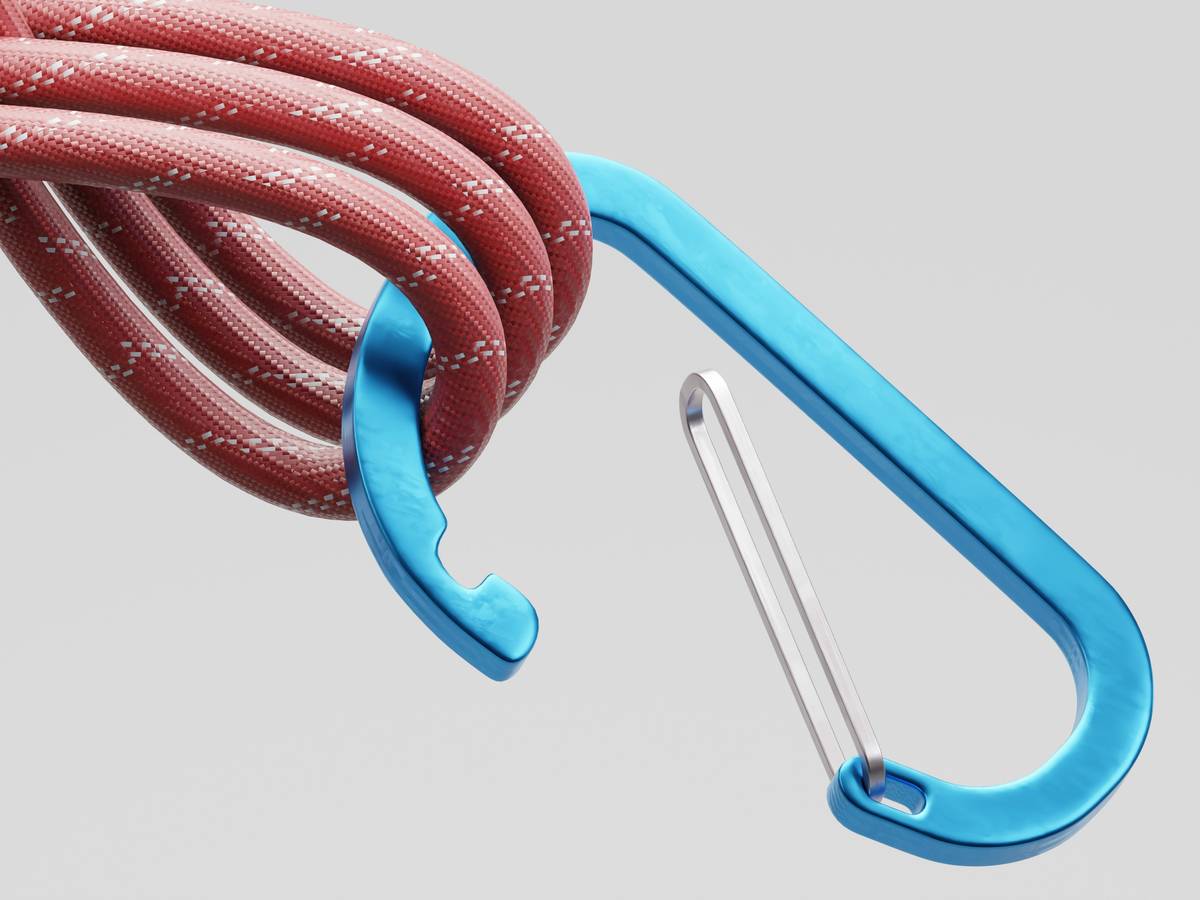
- Never use a damaged carabiner with your belay device; cracks or gate issues compromise the entire system.
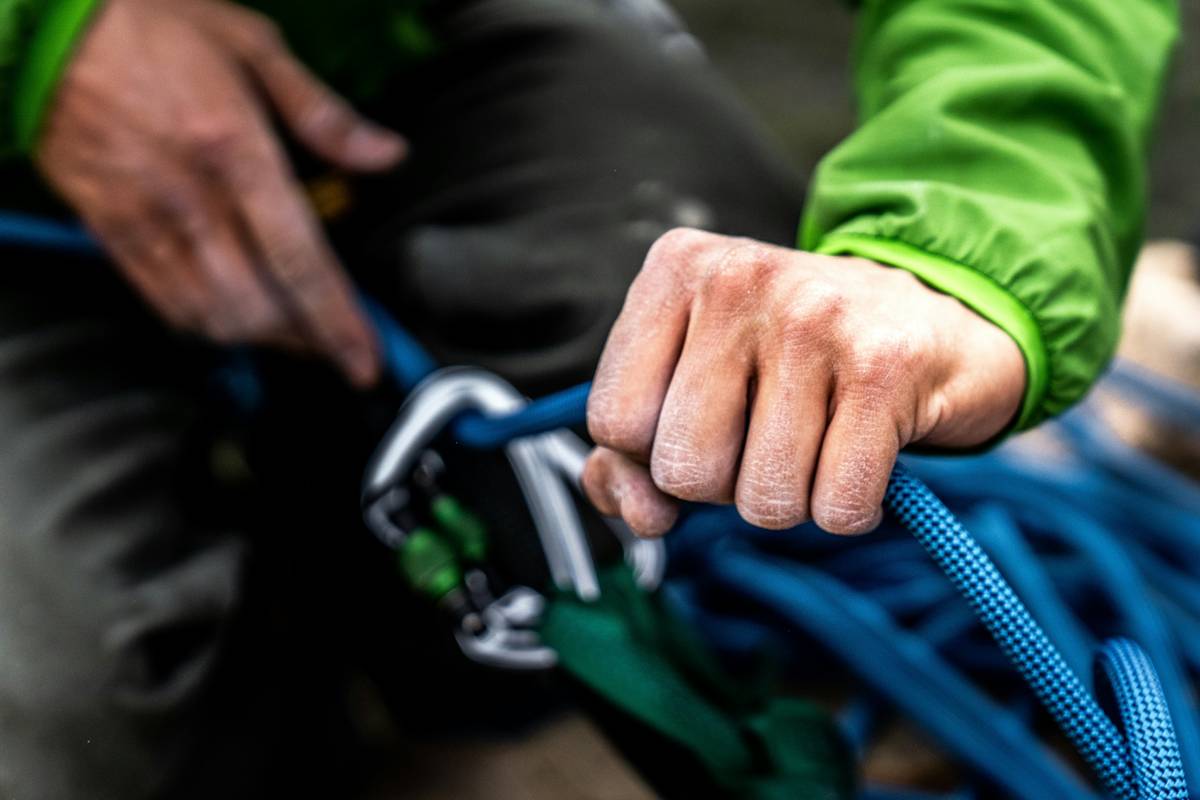
- Avoid the “terrible tip”: Don’t rely solely on the auto-lock feature of assisted devices. Keep your brake hand on the rope at all times—devices assist, they don’t replace vigilance.
Real-World Case Studies and Performance Data
In a 2022 field test by Adventure Journal, 12 belay devices were evaluated across wet, dusty, and icy conditions. The Petzl GriGri+ and Edelrid Mega Jul ranked highest for consistent performance, with zero slippage even on icy 8.9mm ropes. Meanwhile, budget tubular models showed significant drag increase after exposure to fine sand—proof that travel environments demand robust engineering.
I’ve used the same ATC Guide for six years across 14 countries, but after a gritty canyon trip in Utah, I noticed scoring inside the rope channel. Replacing it wasn’t optional—it was survival. That experience taught me that maintenance logs (which we keep at Mobbisur) aren’t just paperwork—they’re safety records.
FAQs About Climbing Belay Gear
Can I use any belay device with a half or twin rope?
Only if explicitly rated for it. Many tubular devices support half ropes, but assisted-braking models often don’t. Always consult the manual—manufacturer guidelines override assumptions.
How often should I replace my belay device?
There’s no fixed timeline, but retire it if you see deep grooves, sharp edges, or deformation. UIAA recommends inspection before every use and replacement after any major fall or visible damage.
Is a lighter belay device better for travel climbing?
Not necessarily. While saving weight helps on long approaches, durability trumps ounces. A 60g difference won’t break your back—but a failed device might.
What’s the biggest mistake climbers make with equipment climbing belay devices gear?
Treating all devices as interchangeable. Each has specific rope ranges, handling traits, and limitations. Assuming “it’s just a belay tool” ignores critical safety variables.
Do I need different belay devices for indoor vs. outdoor climbing?
Not always—but outdoor conditions (dirt, moisture, temperature) accelerate wear. Many climbers use rugged tubulars outside and assisted devices indoors for smoother lowering.
Where can I learn proper belay techniques?
Start with certified courses from organizations like the American Mountain Guides Association. Practice in controlled settings before heading into the wild. And if you’re ever unsure about gear compatibility, reach out to us—we’ve been there.
Remember: your belay device doesn’t just hold rope—it holds trust. Choose wisely, inspect often, and never skip the basics for the sake of convenience. Got questions about your setup? We’re here to help—contact us anytime. And rest assured, we protect your data as fiercely as we protect climbers; see our Privacy Policy for details.
Final thought: Rope runs through metal, but your life runs through judgment.